
When you go to Prewave, you will see the blue button “Add Alert” at the Feed tab.
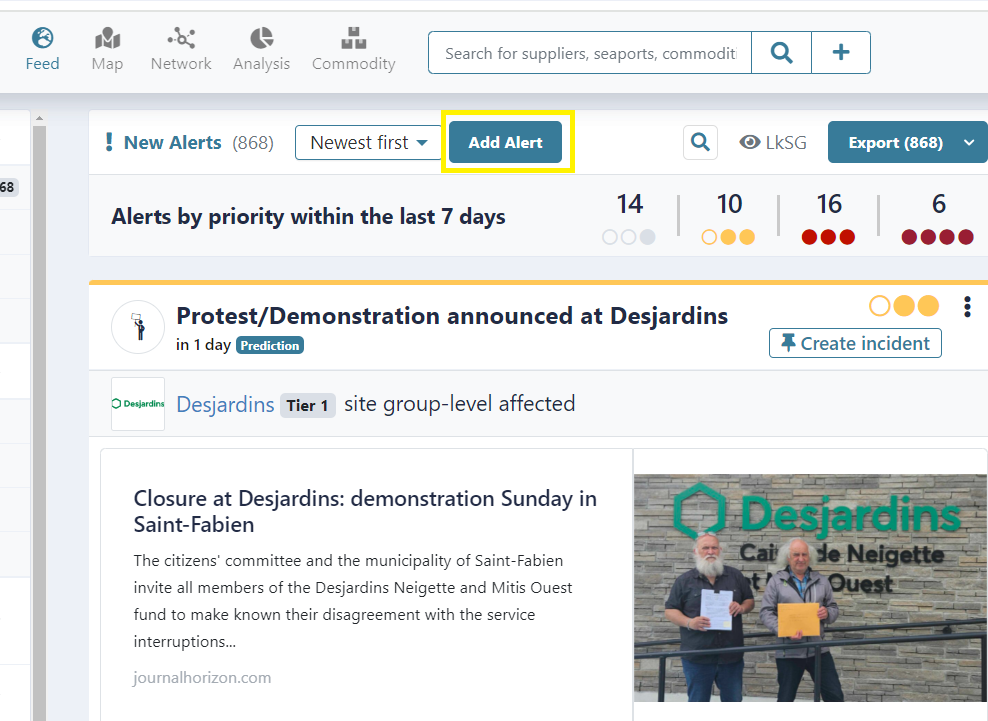
Once you click on it, a pop-up window appears (see screenshot):


Then fill in the required information, which is explained in detail below:
Scope: Please indicate whether the alert concerns one of your suppliers, customers or your own business entity.
Target Type: Here you can specify whether the alert concerns a site (direct location) or a site group (group of entities belonging to one brand).
Target: Please assign the corresponding supplier/customer/own business entity.
Source Type: Where did you receive the information about the alert you want to create? You can choose, whether it is an information from the media (e.g. Social Media, news…), a public grievance report (e.g. an official complaint by an employee that they have been treated unfairly), or other findings, (e.g. information from other suppliers, business partners and customers).
Source description: You can enter a short description of the alert here.
Source URL: Please enter the link corresponding to the reported alert here, e.g. news article, other online resources.
Event start/end date: Please enter the start and end date of this event. This will have an influence on different reporting tools, as dates are used to filter whether an alert should be respected for a certain reporting period or not.
Event Type: Please select in the drop-down menu under which category you would classify this alert, e.g. does this alert refer to a human right issue, such as child labor or to an environmental issue, such as chemical leakage, etc.
Alert Status: Here you can specify the status of the alert, i.e. whether it is a rumour, an accusation, etc. The alert status can have an influence on the alert priority. For instance, a rumour might have a lower influence on the alert priority than an event that is actually already happening.
People Scope: How many people are affected by this event? This field is for documentation purposes only and does not have an influence on the alert priority.
Industry: Please enter the industry affected by this event. This serves as additional documentary information.
Location: Please enter the location of this event. In case it is a regional event and not mentioned in the media, the location helps as an additional information.
As a last step, click on “Create Alert”.
Once the alert is created, the alert priority is determined depending on the perspective settings currently deployed. If you want to learn more about perspective settings and what they do click here.